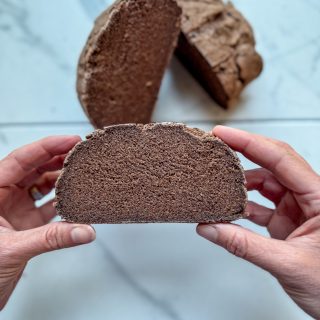
Breads Course Food Main Recipes Gluten-Free Vegan Bread with This Underrated Ancient Grain April 23, 2026
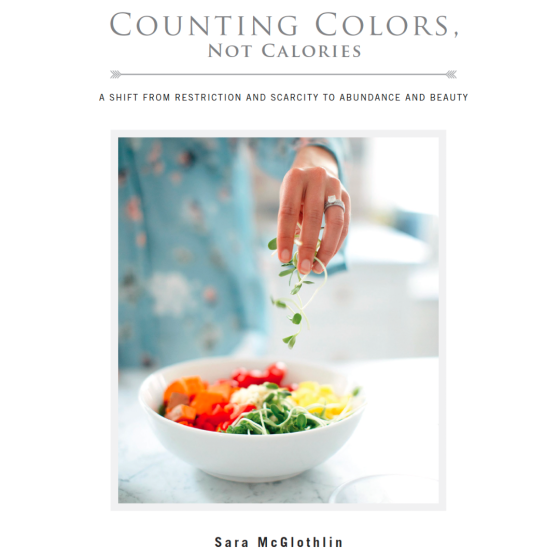
Gut Health Holistic Health Mental Health How Past Eating Experiences Shape Your Relationship with Food Today (And What to Do About It) April 21, 2026
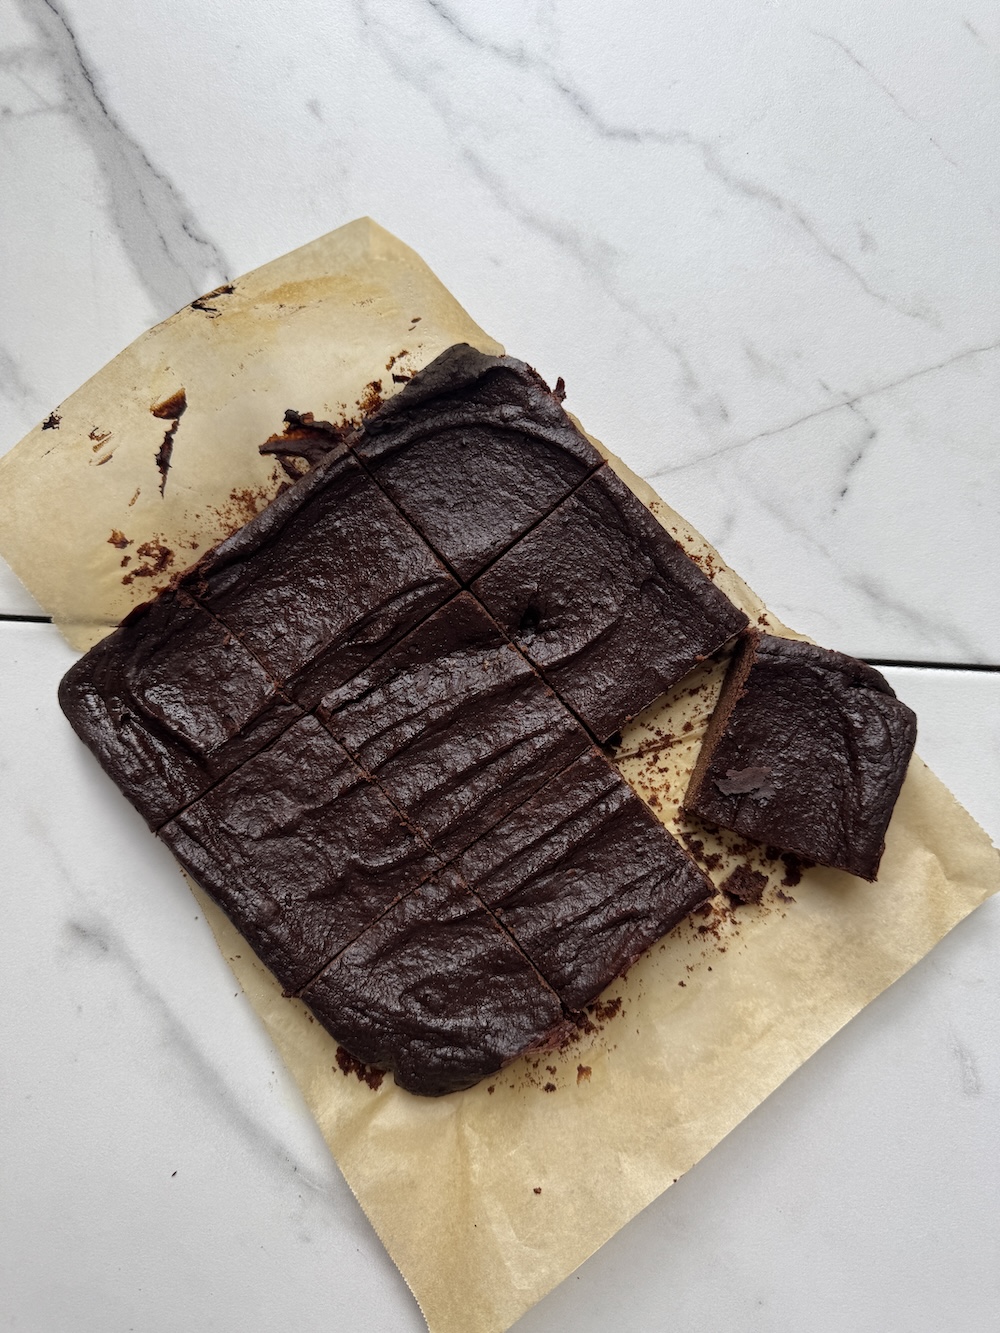
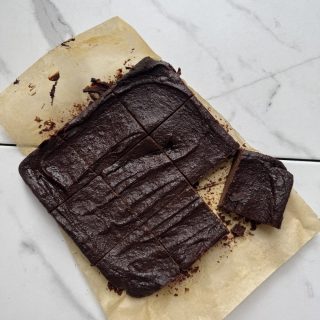
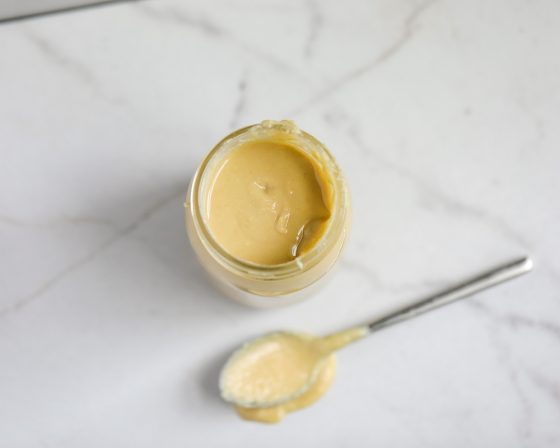
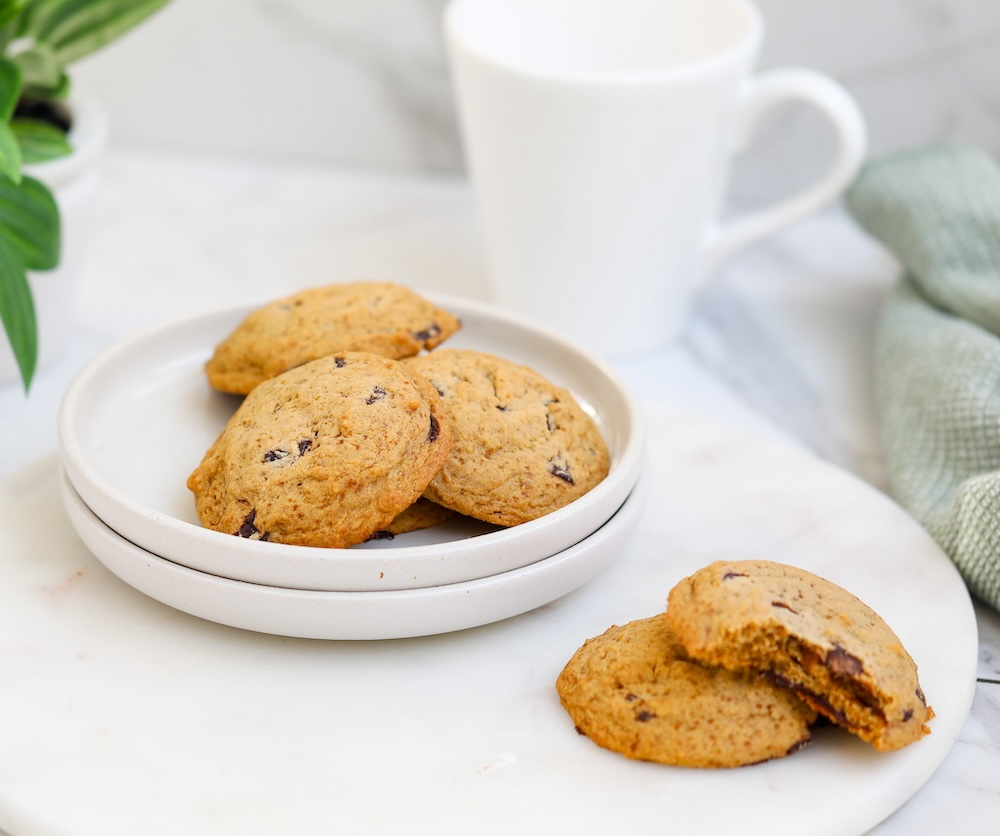
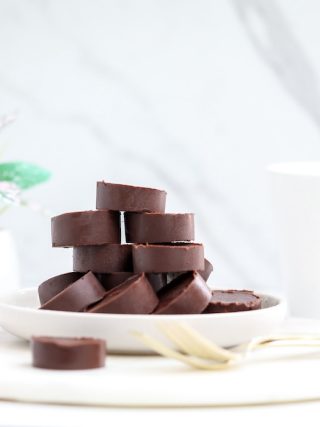
Brownies & Bars Course Dessert Food Recipes Pumpkin Tahini Brownies {Gluten-Free, Dairy-Free, Egg-Free, Oil-Free & Refined Sugar-Free} April 16, 2026
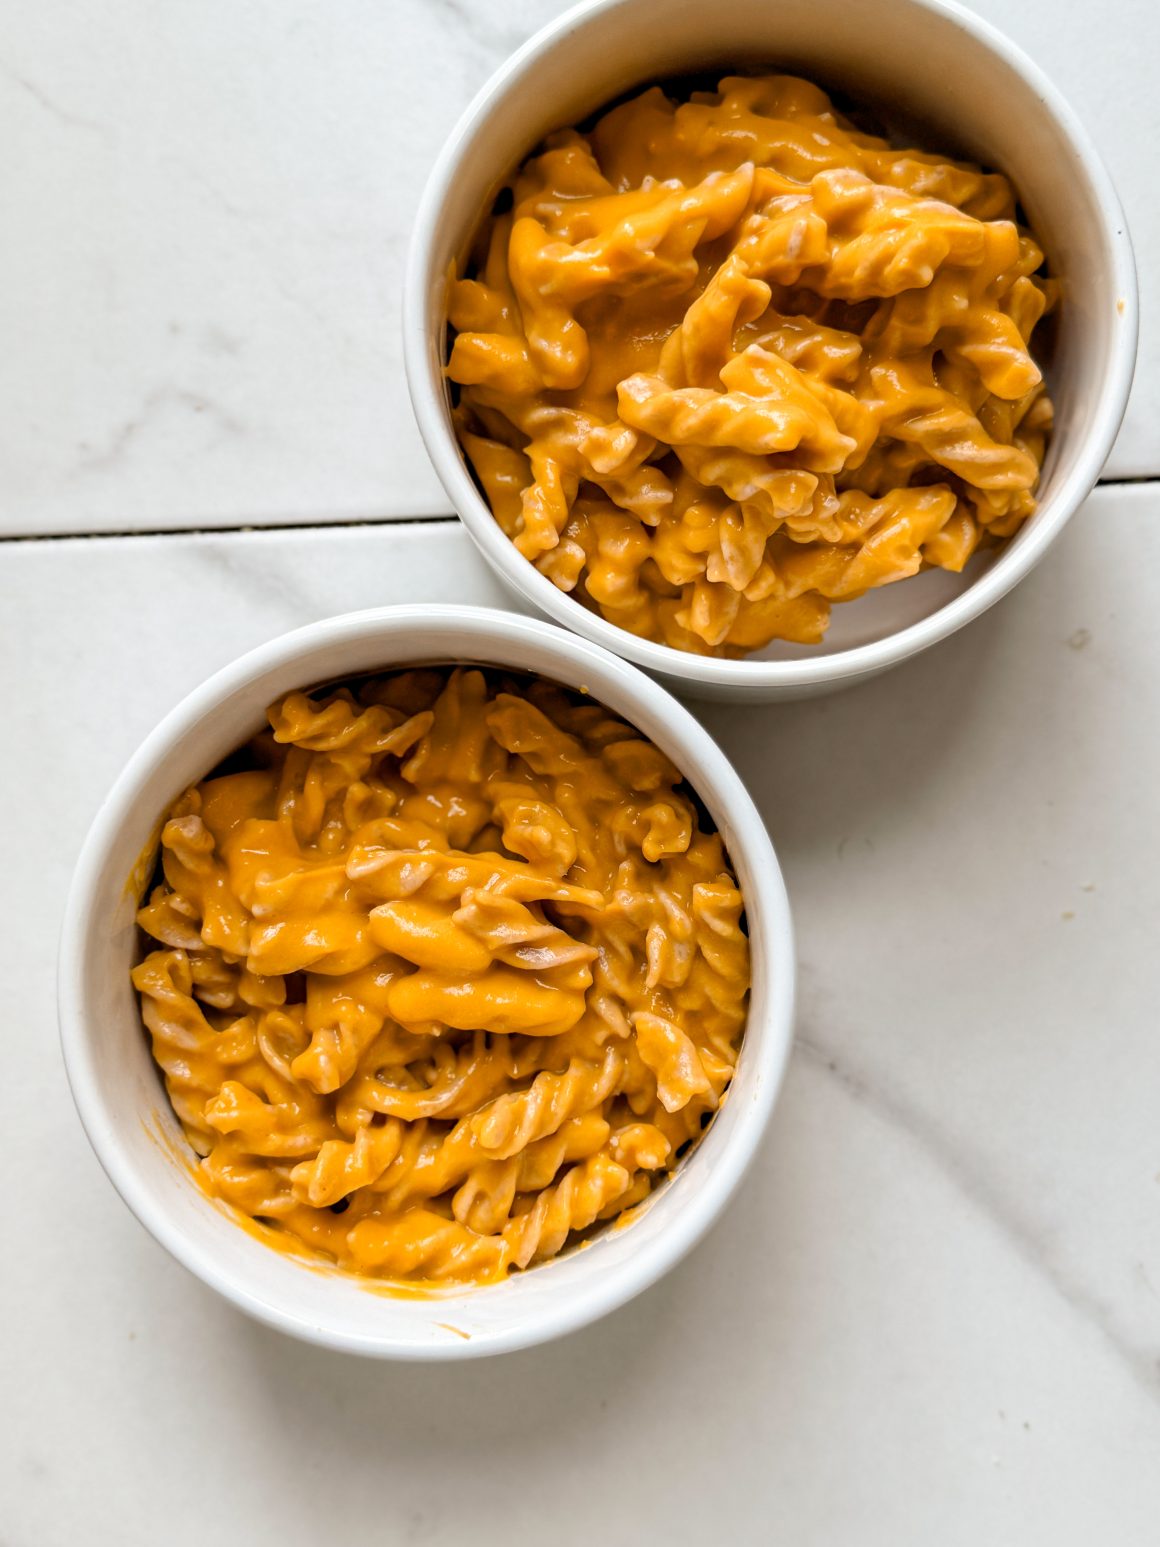
Course Food Main Main Course Recipes Creamy Butternut Squash Pasta Sauce (Dairy-Free & Oil-Free) April 14, 2026
How Past Eating Experiences Shape Your Relationship with Food Today (And What to Do About It) April 21, 2026
Pumpkin Tahini Brownies {Gluten-Free, Dairy-Free, Egg-Free, Oil-Free & Refined Sugar-Free} April 16, 2026
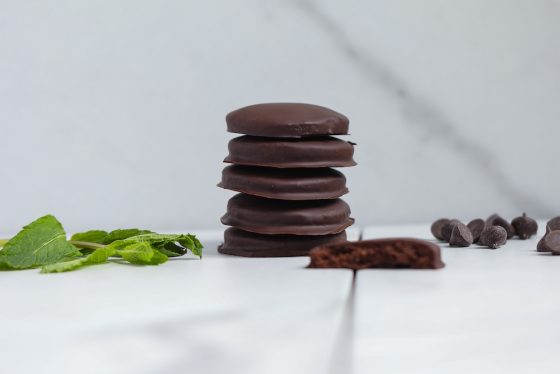
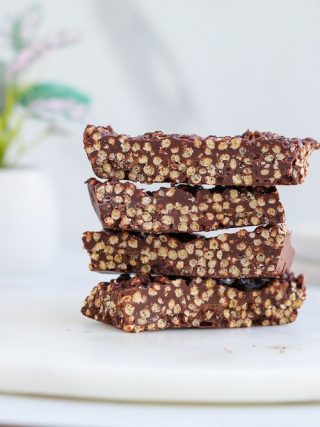
View Post 2 minute read Healthified Thin Mint Cookies {Gluten-Free, Dairy-Free, Refined Sugar-Free} March 17, 2026
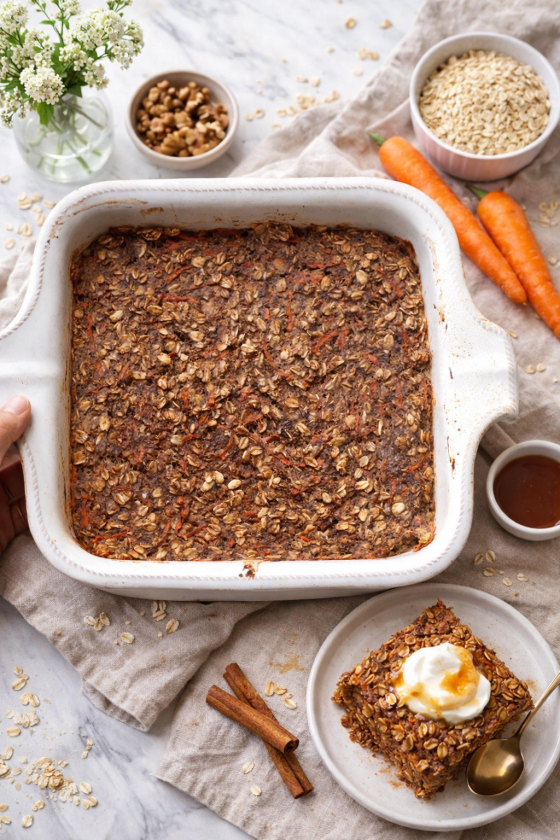
View Post 2 minute read Carrot Cake Oatmeal Bake {Gluten-Free, Dairy-Free, Egg-Free, No Added Sugar} March 13, 2026
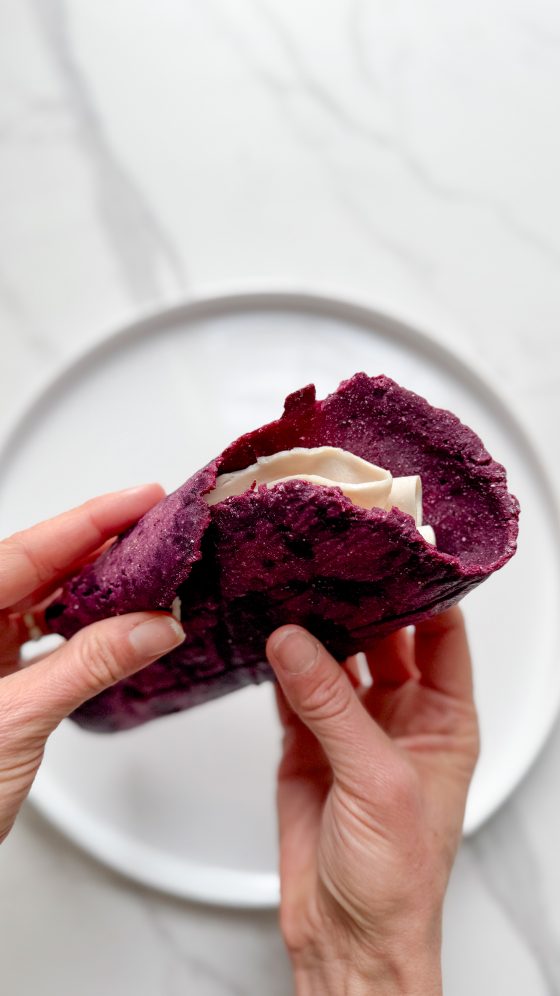
View Post 2 minute read Grain-Free & Egg-Free Purple Sweet Potato Wraps {Just 3 Ingredients} January 29, 2026
View Post 7 minute read The Dopamine Dip I Didn’t Expect During My 30-Day Break From Alcohol December 3, 2025
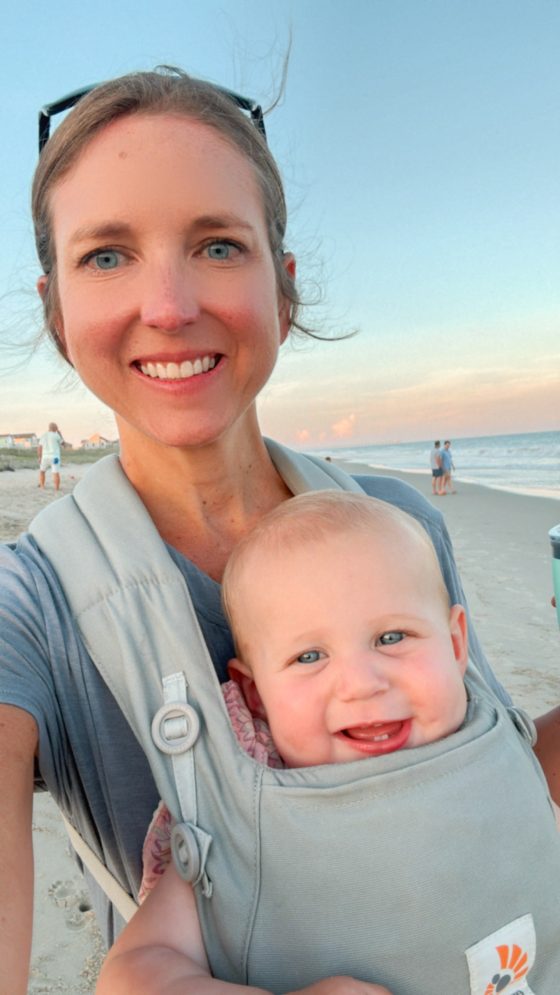
View Post 6 minute read Rediscovering Yourself in Motherhood: What It Means to “Wake Up” to Your Authenticity November 24, 2025
View Post 6 minute read How My Second Postpartum Experience Has Been Different From My First November 4, 2024
View Post 3 minute read Just Because I Am A Mom Doesn’t Mean I Have To Give Up My Dreams November 1, 2024
3 How Past Eating Experiences Shape Your Relationship with Food Today (And What to Do About It) April 21, 2026
4 Pumpkin Tahini Brownies {Gluten-Free, Dairy-Free, Egg-Free, Oil-Free & Refined Sugar-Free} April 16, 2026